
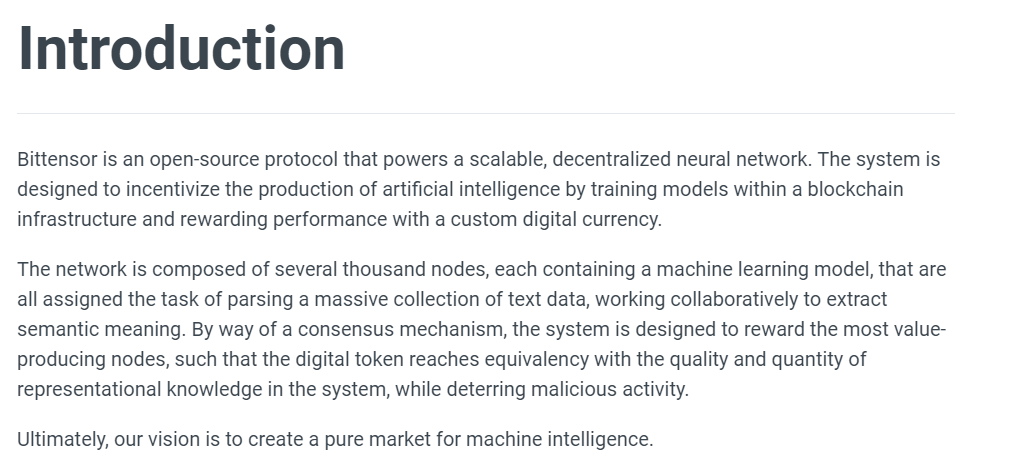
What is Tao? Tao is the coin that you earn whilst contributing to the Bittensor decentralized neural network.
See the below Introduction excerpt from the Bittensor homepage. Don’t worry if it doesn’t make 100% sense, you don’t need to understand the concept to contribute and earn Tao.
For the advanced (not me), see the whitepaper here: Bittensor Whitepaper – please skip past this whitepaper if it does not interest you, you won’t need it for this tutorial.
OK, let’s get started with the fun stuff.
Rent a Server
You need CPU power to mine Tao, as your server will be responding to and working on requests from other servers in the network, helping solve problems.
We will need to rent a server from your favourite provider, mine is DatabaseMart as they’re cheap and based in the US. Although server location doesn’t matter too much.
The beauty of renting a server is not having to outlay any capital for a beefy server, it doesn’t take any space, doesn’t use your electricity nor heat your house as well as no wear & tear to worry about.
You pay your X amount of dollars per month to rent a server and that’s all you care about.
Click here for a Database mart link. Select the DBM Bare Metal – Advanced Bare Metal Server (2022) option.
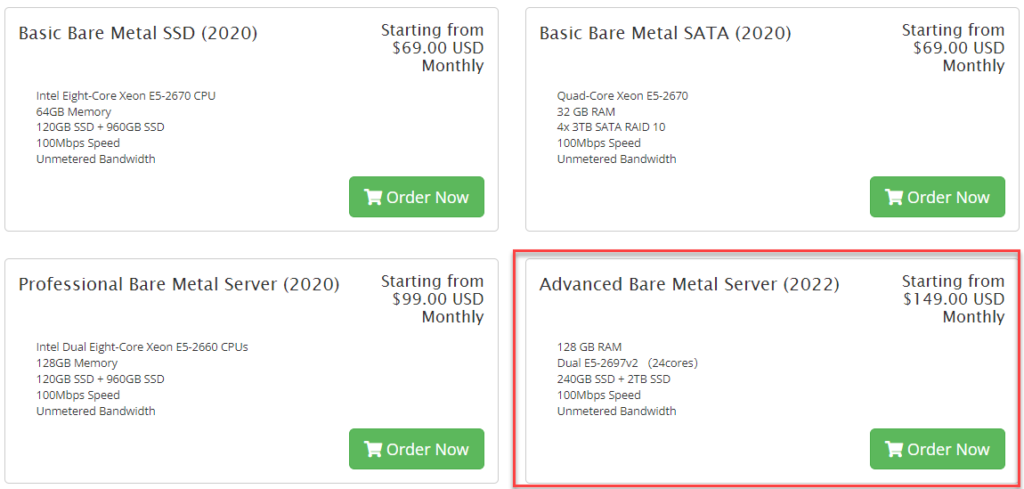
CPU speed is important for processing requests, as the quicker you are, the more Tao you earn.
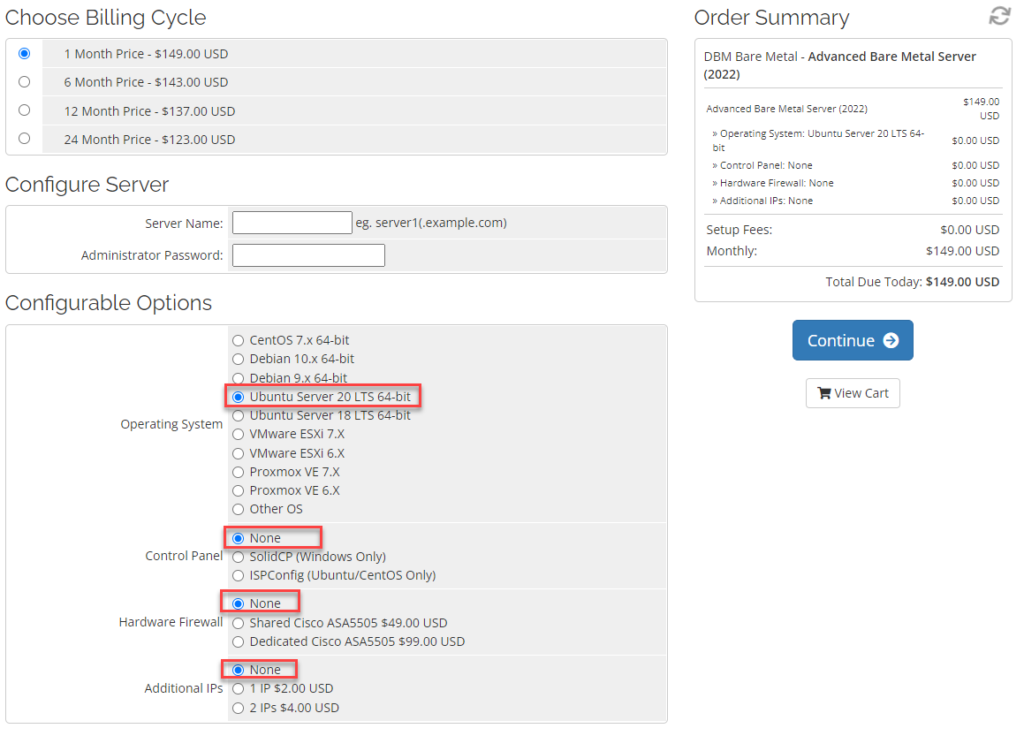
Select the below options. I recommend choosing a 1 month billing cycle.
Don’t forget to set yourself a Server name & Administrator password.
Once you purchase your server, you should receive login instructions which you can use for the next step.
Log into your server
Log into your server as per the email instructions from DatabaseMart.
Update all packages
sudo apt-get updateInstall Bittensor
Note, when pasting into the PuTTy SSH terminal, right-click is paste.
Highlighting text within the terminal automatically copies it to your clipboard, so be careful as you can accidentally paste the wrong thing.
Become super admin
sudo suInstall cURL
Copy and paste (right-click) the commands into your PuTTy Terminal
apt-get install curl -y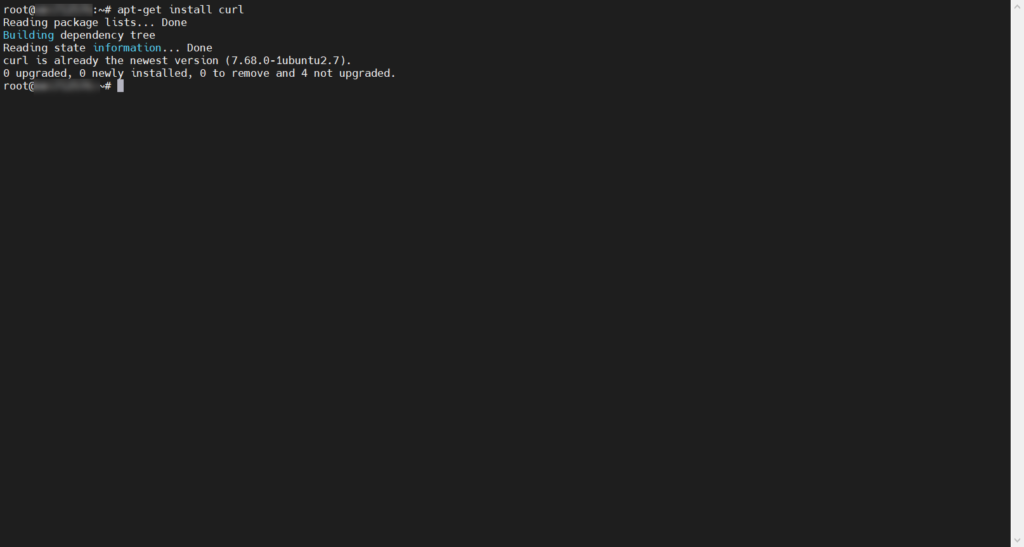
Increase ulimit
This will increase the max amount of processors that can be opened per user.
ulimit -n 1000000Install Bittensor
Run the below script to install Bittensor.
/bin/bash -c "$(curl -fsSL https://raw.githubusercontent.com/opentensor/bittensor/master/scripts/install.sh)"Press Enter to begin
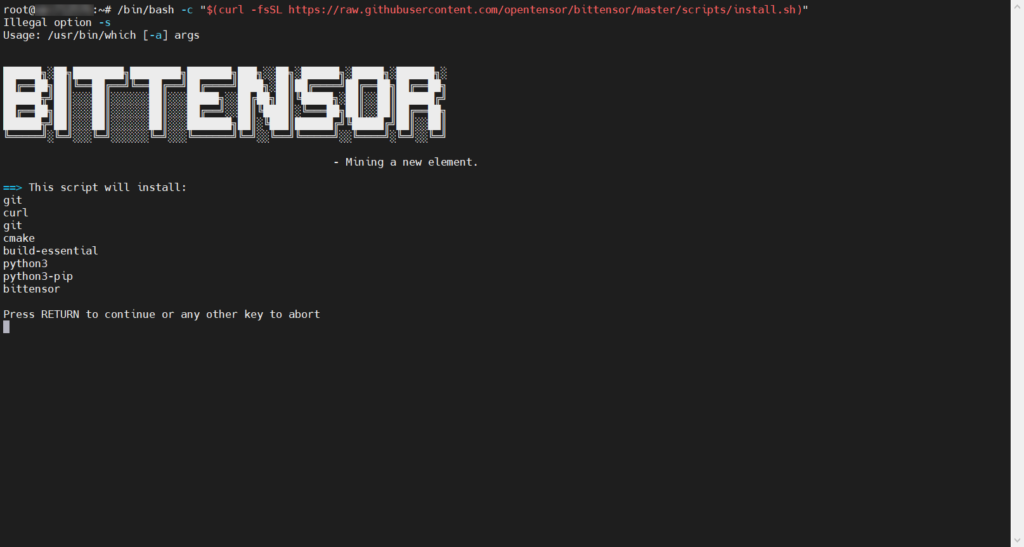
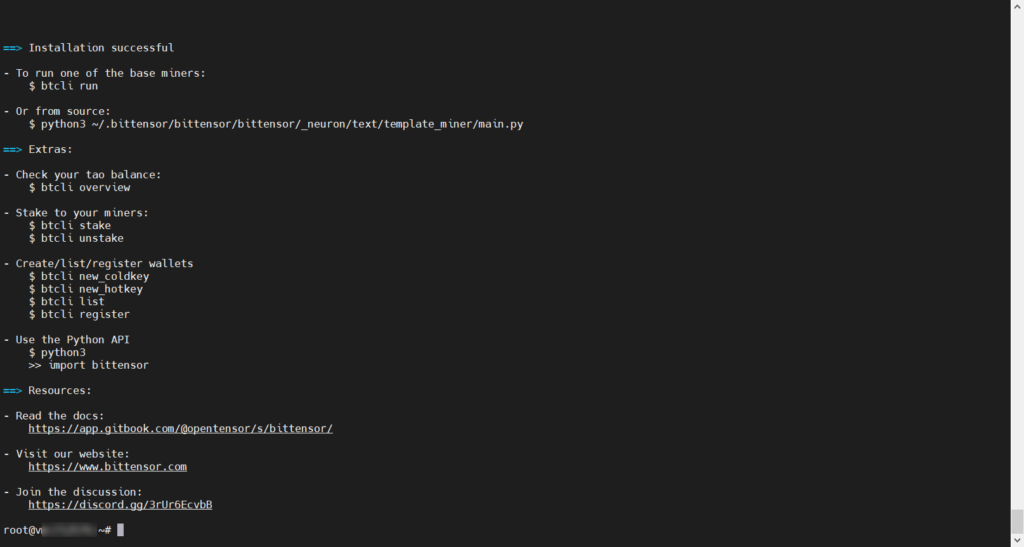
The Bittensor install process can take a few minutes. When completed you will see a screen such as this below:
If you see an error regarding testresources, you can run the below code:
If you don’t see any error, then move onto Install Docker
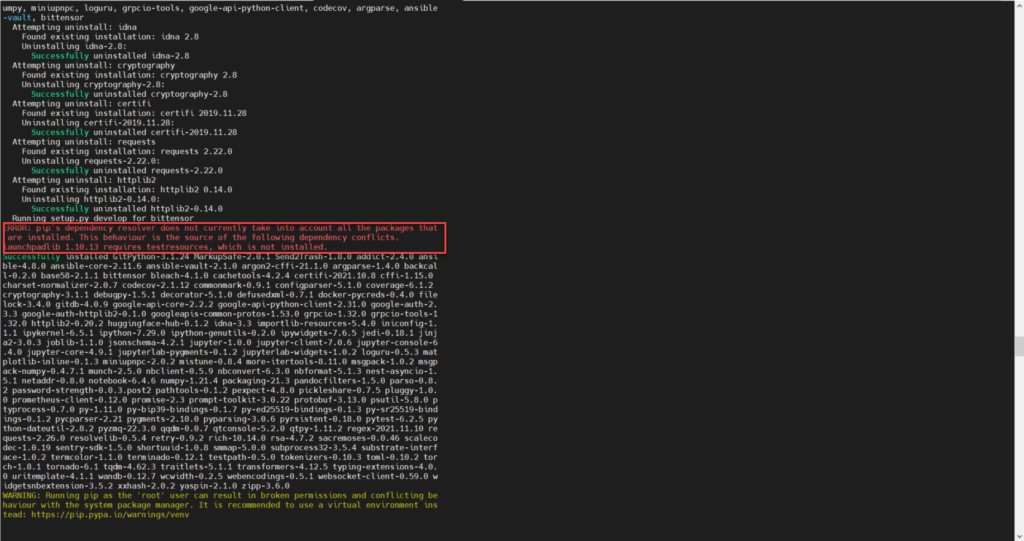
Run this code to fix the testresources issue
sudo apt install python3-testresourcesThen run the same bittensor install script
/bin/bash -c "$(curl -fsSL https://raw.githubusercontent.com/opentensor/bittensor/master/scripts/install.sh)"Install Docker
Run the below command to install docker.
apt install docker-composeInstall Subtensor
First, clone the Subtensor repository to your local Bittensor folder:
git clone https://github.com/opentensor/subtensor.git ~/.bittensor/subtensorThen move into the newly created directory
cd ~/.bittensor/subtensorEdit the below file with vi in preparation for the next step
vi /root/.bittensor/subtensor/docker-compose.ymlReplace the code in docker-compose.yml with what is shown below.
version: "3.2"

services:
  node-subtensor:
    container_name: node-subtensor
    image: opentensorfdn/subtensor:latest
    ports:
      - "9944:9944"
      - "30333:30333"
      - "9933:9933"
    environment:
      - CARGO_HOME=/var/www/node-subtensor/.cargo
    command: bash -c "/usr/local/bin/node-subtensor --base-path /root/.local/share/node-subtensor/ --chain /subtensor/specs/nakamotoSpecRaw.json --rpc-external --ws-external --rpc-cors all --no-mdns --rpc-methods=Unsafe --ws-max-connections 1000 --in-peers 500 --out-peers 500"
Run docker compose up to pull the latest image of the blockchain and run it:
docker-compose upIf the installation was successful, then you should see a long list of output (these are debug logs, do not be alarmed it is not an error). Once synchronization finishes, you should see logs similar to this:
node-subtensor  | 2021-11-23 18:42:22 ✨ Imported #147209 (0x83b6…4178)
node-subtensor  | 2021-11-23 18:42:24 ✨ Imported #147210 (0x482f…be10)
node-subtensor  | 2021-11-23 18:42:25 💤 Idle (28 peers), best: #147210 (0x482f…be10), finalized #147208 (0x50d1…e7f6), ⬇ 10.0kiB/s ⬆ 8.3kiB/s
node-subtensor  | 2021-11-23 18:42:30 💤 Idle (28 peers), best: #147210 (0x482f…be10), finalized #147208 (0x50d1…e7f6), ⬇ 22.8kiB/s ⬆ 12.6kiB/s
Now that the chain is running and synchronized, we can safely start the process. Our miners will connect to this local copy of the blockchain.
Press ctrl + c to cancel the run, and then run docker-compose up -d to start the process.
docker-compose up -dInstall PM2
We’re going to install PM2 which will allow us to run the miners in the background whilst we can still use our main terminal window to run other commands, such as checking processes, RAM usage, Bittensor wallets, and so on.
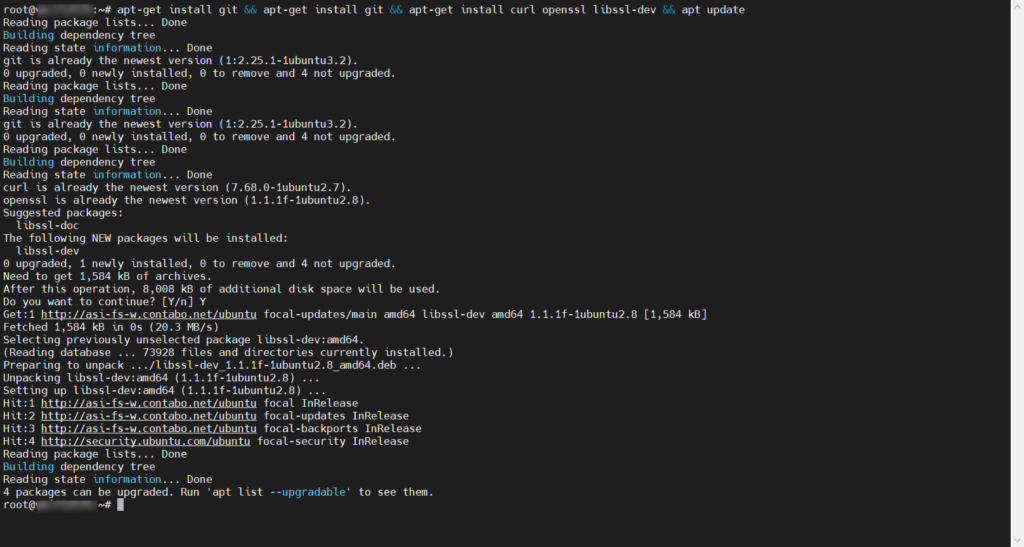
apt-get install git && apt-get install git && apt-get install curl openssl libssl-dev && apt update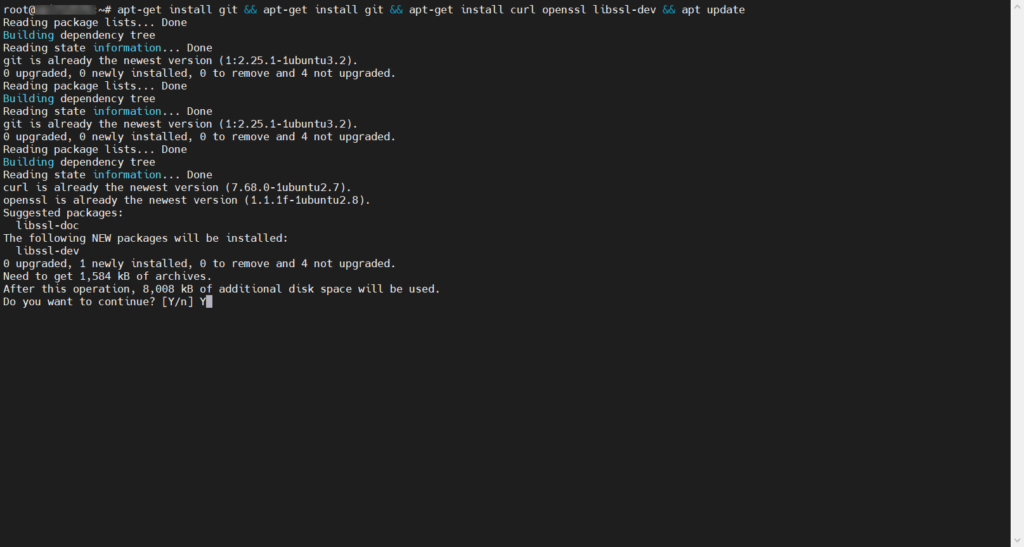
If prompted, Press Y & Enter to continue
Completed.
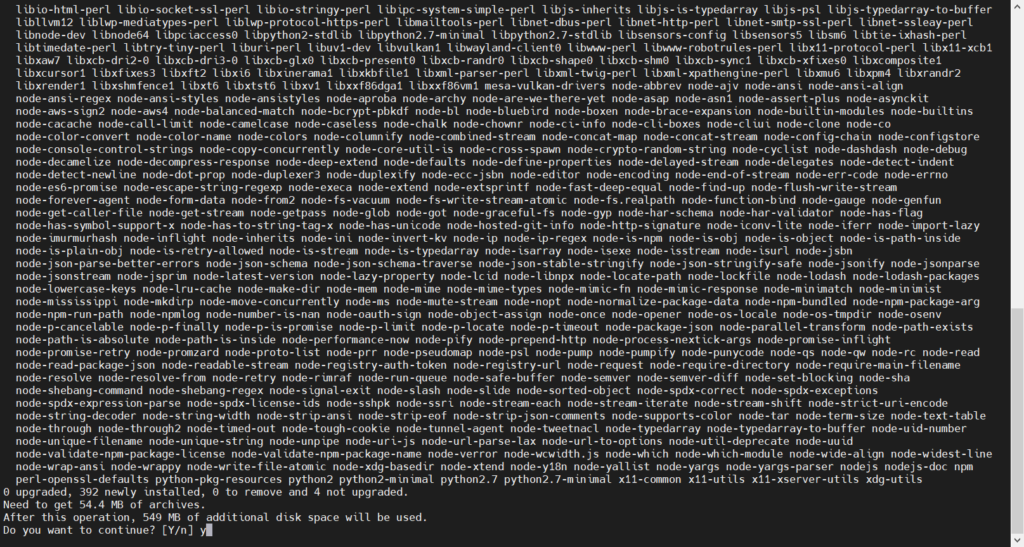
Install NPM & PM2
apt install nodejs npm && npm install pm2 -g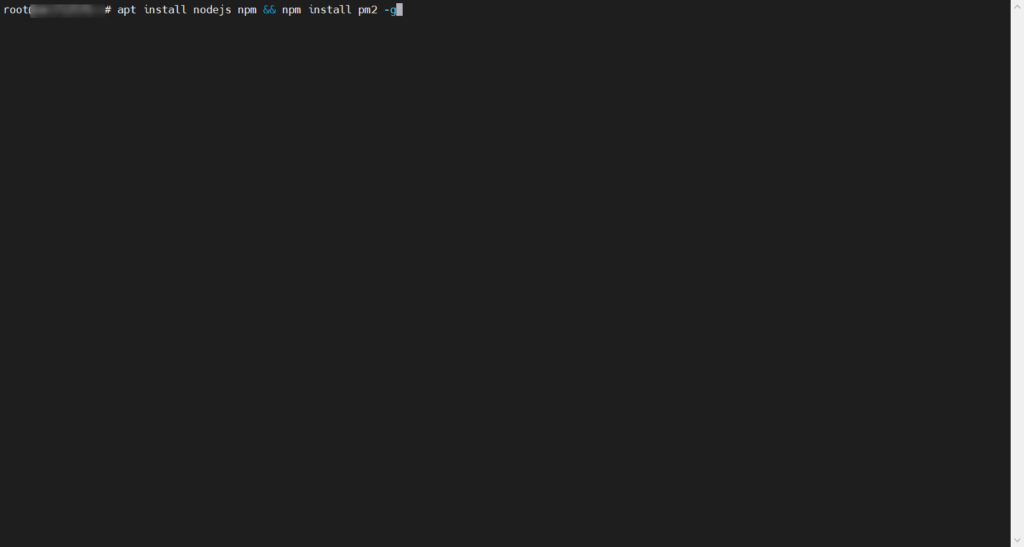
If prompted, Press Y & Enter to continue
Completed

Create swap space (Optional)
Swap space helps for the stability of the server, should RAM usage exceed the amount it has installed, the RAM data will be written to the disks swap space.
Run each command at a time.
Turn the swap off
Your server might have swap already, so we will run this command in case as we will be resizing if it exists, otherwise creating swap if it doesnt.
The below command will move what’s stored in swap memory to your RAM.
sudo swapoff -aCreate an empty swapfile
We are making a 4GB swap file. Edit the last number (count=4) if you want to increase/decrease the amount of swap.
sudo dd if=/dev/zero of=/swapfile bs=1G count=4Set the correct permissions
sudo chmod 0600 /swapfileSet up a Linux swap area
sudo mkswap /swapfileTurn the swap on
sudo swapon /swapfileNow check to make sure it’s worked.
grep Swap /proc/meminfoYour numbers may not be exactly the same, but it will be similiar in size.
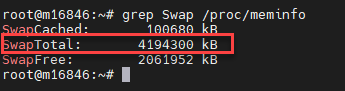
Create your Bittensor wallet
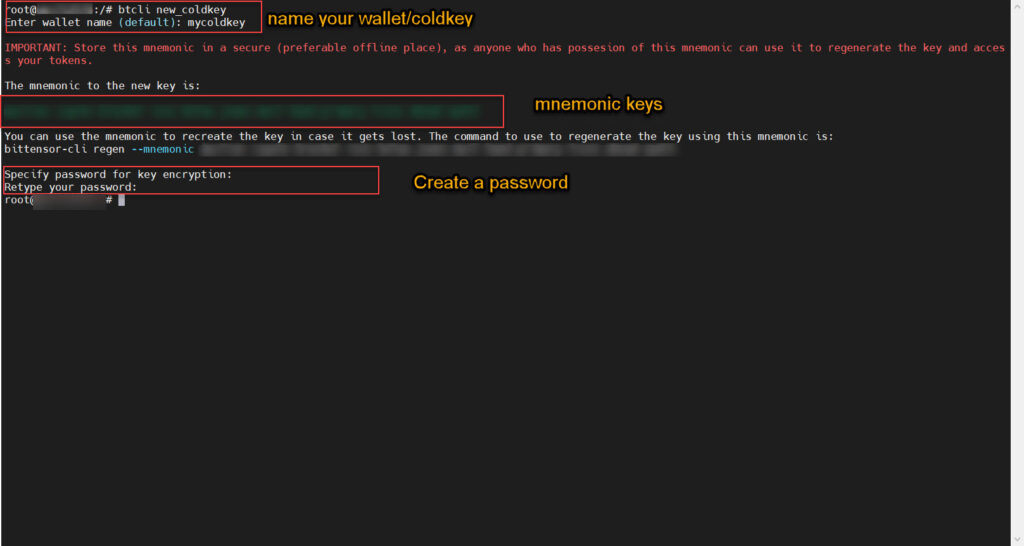
Create your wallet/coldkey.
You can use the one wallet/coldkey for all your miners.
btcli new_coldkey- On the next line you specify the name. We gave it a generic name of mycoldkey. Call yours whatever you’d like.
- Take note of the mnemonic keys. You need this to recover your wallet. (Important: Do not lose or share this. Keep track of this phrase. If you lose it, or it becomes compromised, you could lose all your Tao.)
- Specify a password
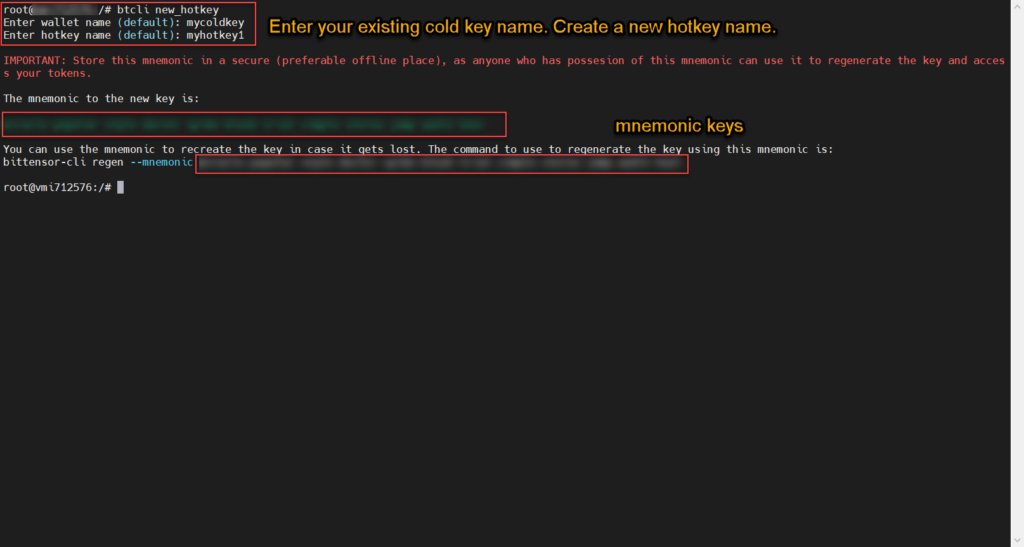
Create your hotkey.
It’s recommended to use a different hotkey for each miner.
You can repeat this step for the amount of miners you are going to run.
Each new hotkey will reside in the same coldkey/wallet.
btcli new_hotkey- On the next line you specify your wallet name (In the step above we called it mycoldkey)
- On the next line you specify the hotkey name. We can call it myhotkey1 (If you are making multiple miners, then the next hotkey you make increment this to myhotkey2, myhotkey3 and so on)
- Take note of your mnemonic keys. you need these to recover your hotkey.
Step Start your miners
Now that the wallet is created, we can run the miners in pm2.
If you went with the 32GB Hybrid Server, we can run about 4 miners.
For each miner, the three changes will be –name and –wallet.hotkey and –axon.port
The first miner
–name miner01
–wallet.hotkey myhotkey1
pm2 start ~/.bittensor/bittensor/bittensor/_neuron/text/advanced_server/main.py --name miner01 --time --interpreter python3 -- --logging.debug --subtensor.network nakamoto --neuron.restart true --neuron.model_name distilgpt2 --axon.port 8091 --wallet.name mycoldkey --wallet.hotkey myhotkey1 The second miner
–-name miner02
–wallet.hotkey myhotkey2
pm2 start ~/.bittensor/bittensor/bittensor/_neuron/text/advanced_server/main.py --name miner02 --time --interpreter python3 -- --logging.debug --subtensor.network nakamoto --neuron.restart true --neuron.model_name distilgpt2 --wallet.name mycoldkey --wallet.hotkey myhotkey2Third miner
–-name miner03
–wallet.hotkey myhotkey3
pm2 start ~/.bittensor/bittensor/bittensor/_neuron/text/advanced_server/main.py --name miner03 --time --interpreter python3 -- --logging.debug --subtensor.network nakamoto --neuron.restart true --neuron.model_name distilgpt2 --wallet.name mycoldkey --wallet.hotkey myhotkey3Fourth miner
–name miner04
–wallet.hotkey myhotkey4
pm2 start ~/.bittensor/bittensor/bittensor/_neuron/text/advanced_server/main.py --name miner04 --time --interpreter python3 -- --logging.debug --subtensor.network nakamoto --neuron.restart true --neuron.model_name distilgpt2 --wallet.name mycoldkey --wallet.hotkey myhotkey4Check status of miners
Check the status of the miners
pm2 listThe result
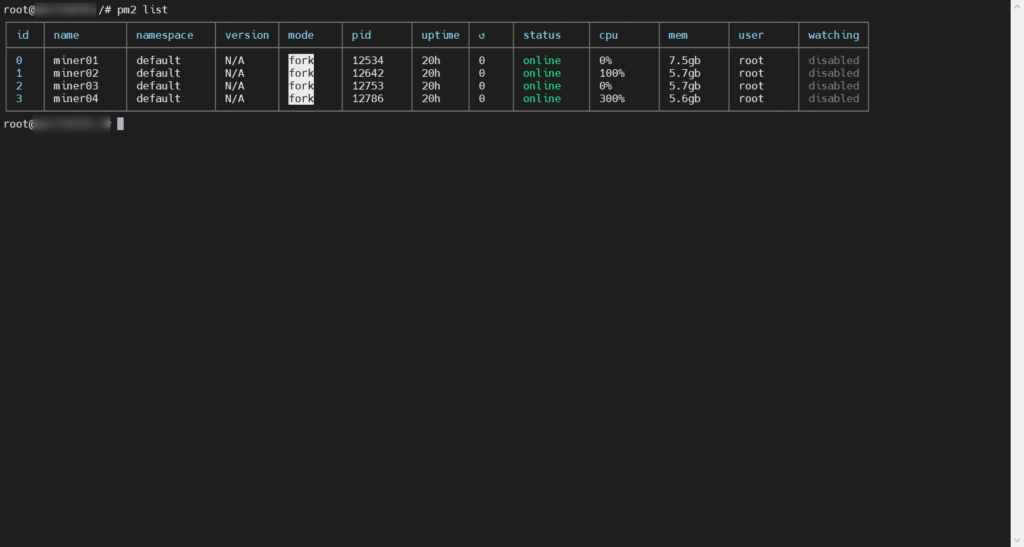
Check the logs
You can view what your miners are doing with the below commands.
To check the first miner, run the below command
pm2 logs miner01Checking the status of our first miner. It’s starting up.
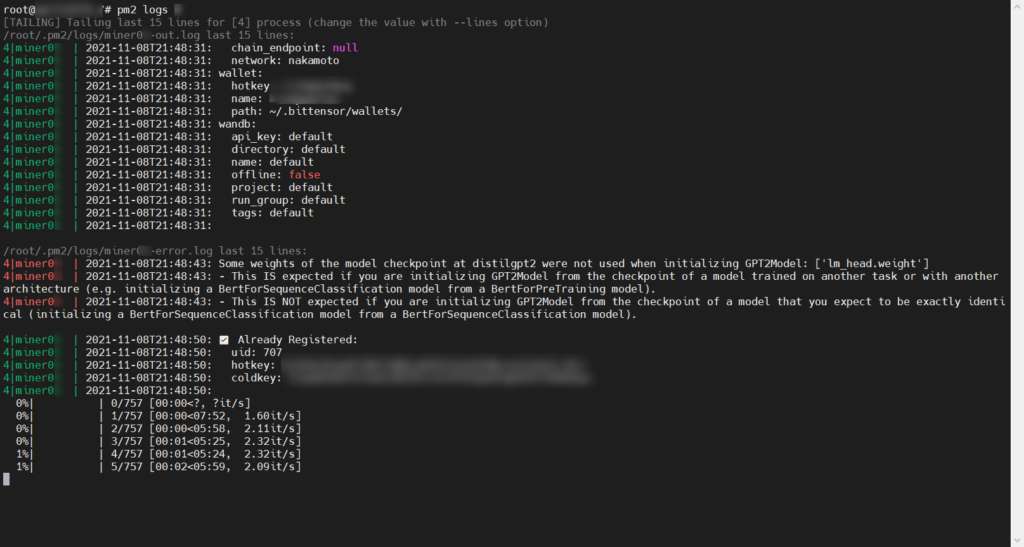
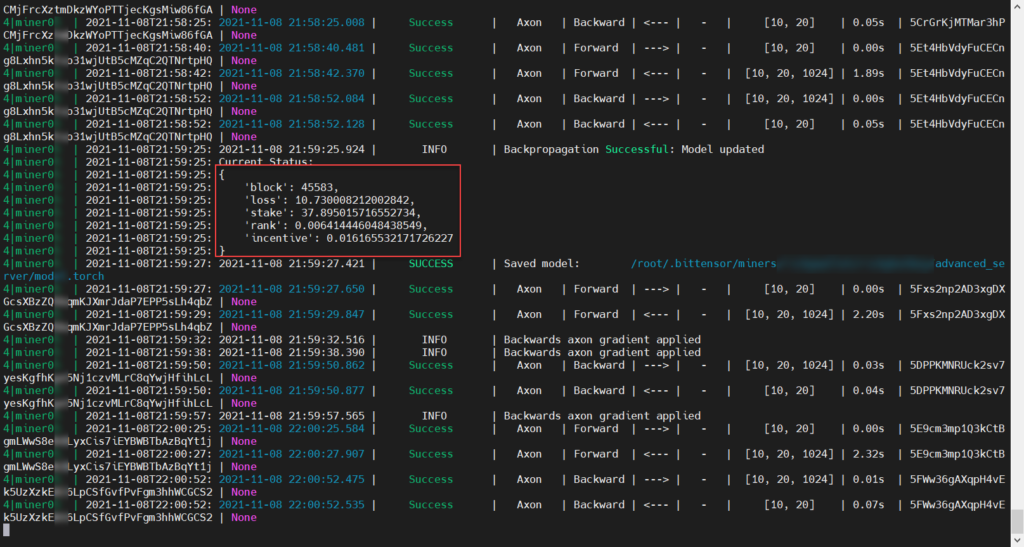
After 5-10 minutes. Our miner is now ready and waiting to mine.
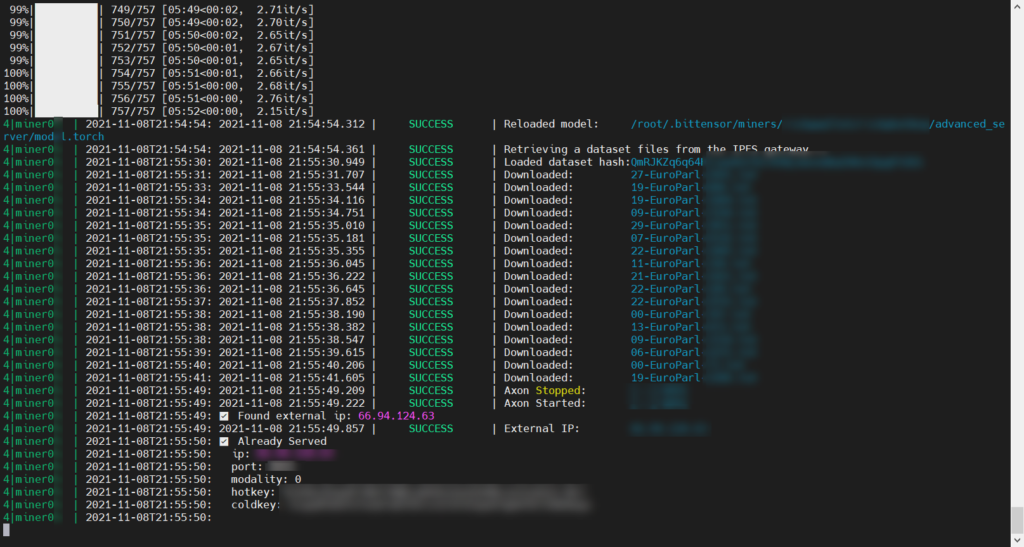
We’re mining
Monitoring system resources
Install htop to view your CPU & memory usage. You don’t want to be sitting on 100% CPU utilization.
apt install htopNow you can launch htop to view your CPU & RAM usage.
htopQuestions?
Need help? Visit the Bittensor community in their Discord: https://discord.gg/qasY3HA9F9

Sir, I am having troubles with installing subtensor.. Am having confusions with “Edit the below file & add the code just below that”. What exactly must I do after completing : Move into the directory first
cd ~/.bittensor/subtensor ?
nevermind, figured it out. (still learning the basic ubuntu commands of editing lines)
Getting a hotkey registered on the network is quite hard at the moment. If you have no luck you might need to rent some GPU power to get your key initially on the network.
There’s a very helpful community on discord. https://discord.gg/c6bvHbMwVc
this article does not have anything about the registeration of the hotkey in the network. Does this mean, its not required when the mentiones are followed or simply missed?
In my GPU guide I show the registration as a separate step.
In this guide, I show it together with running a miner in this step. When you start a miner up it will attempt to register the hotkey. You don’t get any feedback on the progress.. so you’re flying blind.
To run the registration process separately, you can do a
btcli registerand follow the steps (choose nakamoto, coldkey/wallet, hotkey, Y to continue). This step is done just before running a miner.Great write up on renting servers. It helps. How much can you make in TAO for running models? What is the ultimate setup to grow in this network? Would you say a custom model, or better a custom suite of models that can be the base for large-scale technology advancement? The more info the better out here. And this about model tuning:
https://github.com/opentensor/clm_model_tuning
Mining Tao with CPU is being phased out by GPU mining now.
CPU is good for validating. You can mine Tao, or you can validate.
I validate with a few thousand Tao and see about 5 Tao per day. Current price is $30+ Tao per token.
GPU mining here (the servers are more expensive to Rent): https://lostcove.tech/mining-tao-with-a-gpu/ – I recommend RunPod as its the cheapest I’ve found. Vast.ai has issues, but I think they’re trying to sort them out (port mapping issues).
The best Tao generators on the network are custom tuning, but the GPU requirement for that is very high. Think multiple A5000/A6000s working away at a 10GB text dataset for days.
I’ve scraped a lot of data from the public domain and created a 12GB text dataset. Once I figure out how to use multiple GPUs to train a model using it, I will.
How many Tao is earned per month with this setup ?
I’ve switched my miner to a validator. A few thousand Tao staked with a validator earns about 5 Tao per day.
Try GPU mining now. You can earn around 1.5 Tao per day with an A5000: https://lostcove.tech/mining-tao-with-a-gpu/
BTW, the article is very helpful for the beginners like me!! Great work!!!
Glad you like it my friend
How many Tao do you need to become a validator?
1000 is recommended.
Pingback: How to set up a Bittensor Validator – Lost Cove