
In this guide we will generate SSH keys on a Windows machine that we will use to connect to a Linux server. We are connecting to Ubuntu Linux in this guide from a Windows 10 computer.
Download PuttyGen
PuttyGen will be used for creating the SSHkeys, download it below from the official website.
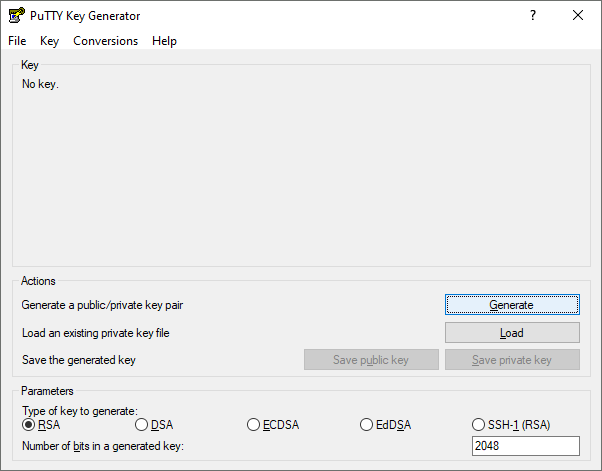
Open the PuttyGen App

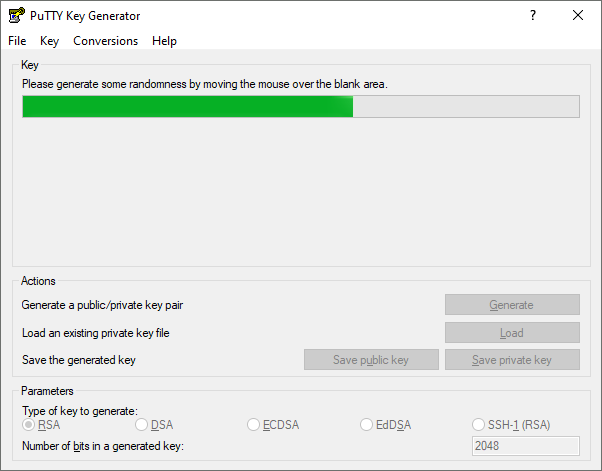
Click Generate to begin generating a public/private key
Follow the instructions by moving your mouse and hitting keys on the board to generate the key
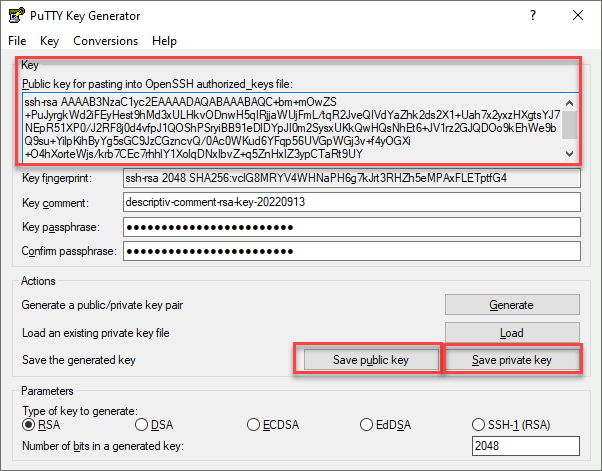
Add the following
- Key Comment – Helps you to identify the key later
- Key passphrase – Set yourself a password should your sshkey ever be compromised.
- Confirm Passphrase – As above
Save your public key & private key to somewhere on your workstation.
In the top section below, that is your public key. PuttyGen gives you an easy to use copy box for saving directly into your Linux server.
Add the SSH Key to Linux
Add the SSH Key to your Linux machines authorized_keys file
Create the directory & file if it doesnt exist.
Using the command below, you will be placing the SSH public key within your Ubuntu user profile.
If you have elevated to root, then the key below will be placed within your root user profile.
You can also add your key to both if you arent sure.
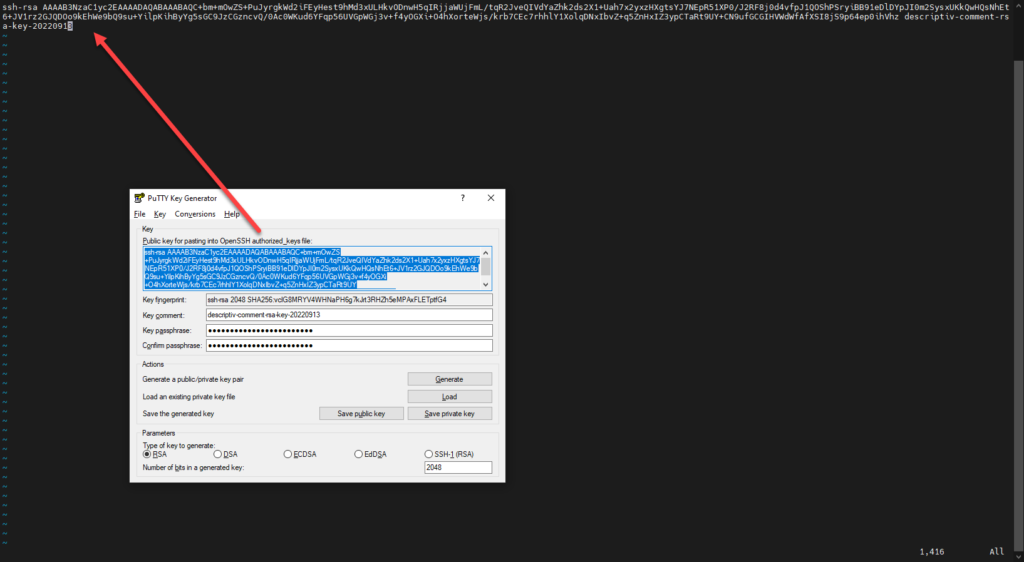
vi ~/.ssh/authorized_keys # The tilda key denotes your home directory.

#or vi /home/ubuntu/.ssh/authorized_keys
#or vi /root/.ssh/authorized_keys
Paste in your PuttyGen public key
Connecting
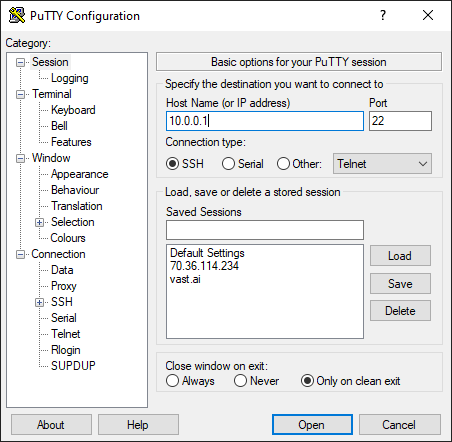
Now you can use PuTTy to connect from your Windows 10 computer to the Linux machine.
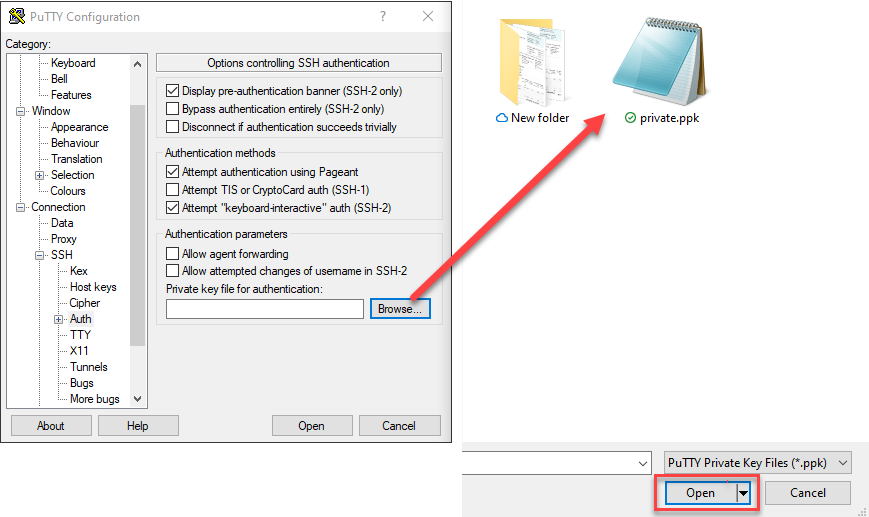
The private key on your Windows 10 machine will need to communicate with the public key you just saved on your Linux machine.
Launch PuTTy.
Add the IP address of your Linux machine under Host Name (or IP Address). We are using 10.0.0.1
Add the key
Click SSH & then Auth
Click Browse, find your private key which you saved to your Windows 10 computer and open it.
Now you can go back to Session, add a Saved Session (just giving it a name) and click Save.


Pingback: Mining Tao with a GPU – Lost Cove