
I recently converted our work onboarding process to Microsoft Flow from a PDF form that was often emailed, printed, filled out, scanned, and then emailed again. Terribly inefficient, and was often incorrectly done.
Part of our onboarding process involves setting up users within Procore. Procore offers basic Microsoft Azure SSO and an API.
Using Microsoft Flow we can create a custom connector using the Procore API.
Firstly, you’ll need to create a developer account and I highly suggest a Procore sandbox environment. It’s good practice to test everything within a Sandbox environment before sending requests directly to production.
The connector I will show you how to make supports Adding a User and Getting a User. Other functionality will be added later.
Table of Contents
Requirements
- Procore subscription
- Procore user account with full admin rights to Procore & your Company within Procore
If you find your JSON return data is missing some information, you probably don’t have the correct permissions applied to your account. - Procore developer account
- Office365 account with Microsoft Power Automate.
MS Power Automate Premium is not required as custom connectors are free to make.
Procore
In this tutorial we are using a Procore Sandbox with pre-populated company & project data.
This guide can be followed without a paid Procore subscription as we are only working with a Procore developer account and Procore Sandbox, but to implement it to production you will need a Procore subscription.
The Procore Sandbox has different API endpoints from the Procore production endpoint.
Set up account
You will need a Procore developer account. This is a separate account from your Procore subscription.
Sign up: https://developers.procore.com/signup
The email address can be the same as your Procore account.
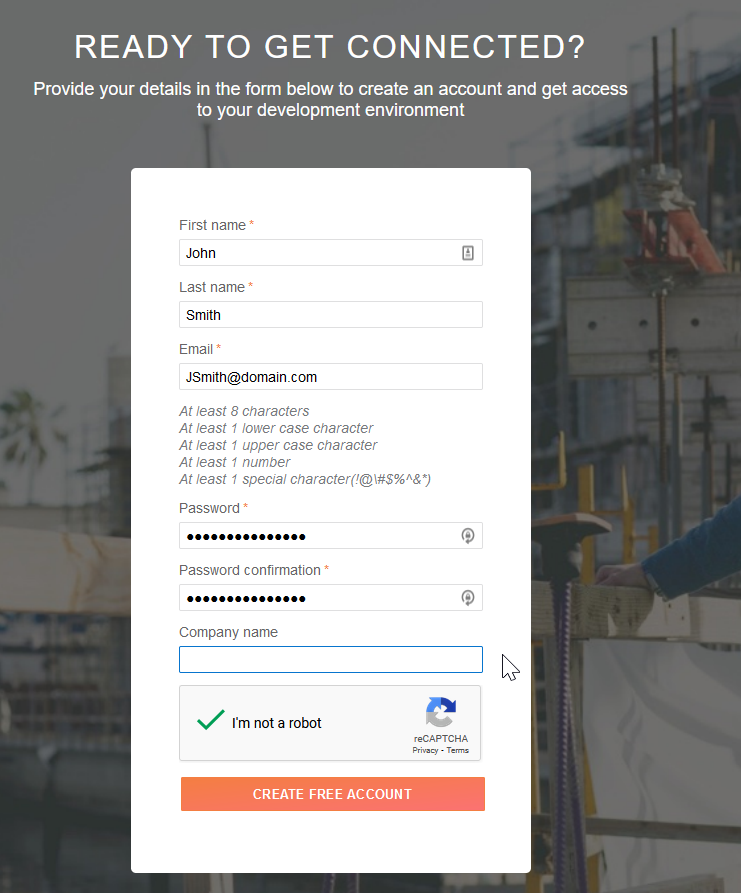
Verify your email and log in.
Create an app
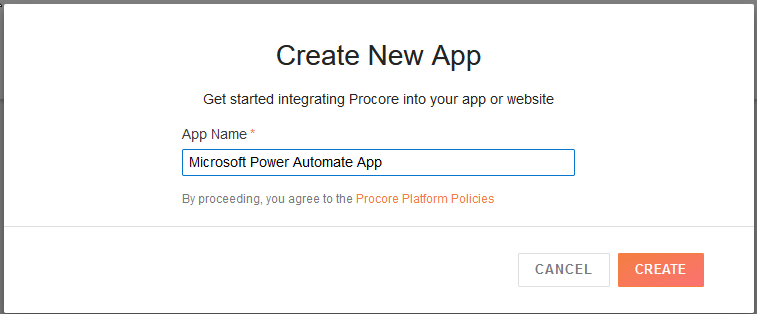
Log into the Procore developer portal & create an app
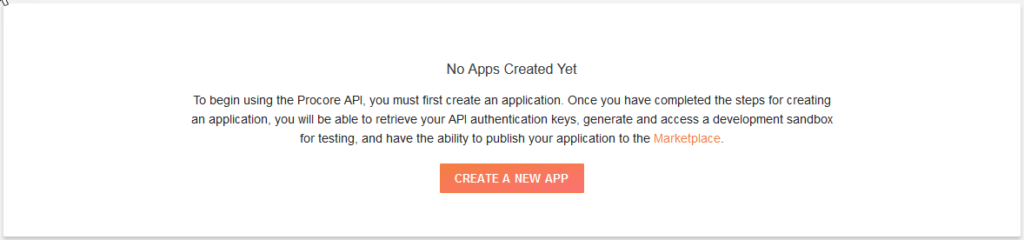
Give the app a nice descriptive name
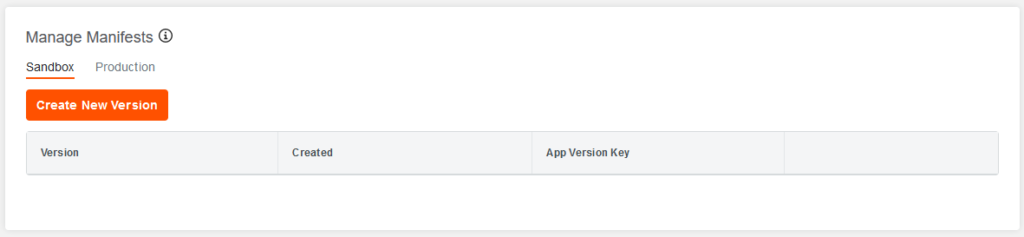
Create Sandbox
A sandbox will be created once you add in an app manifest
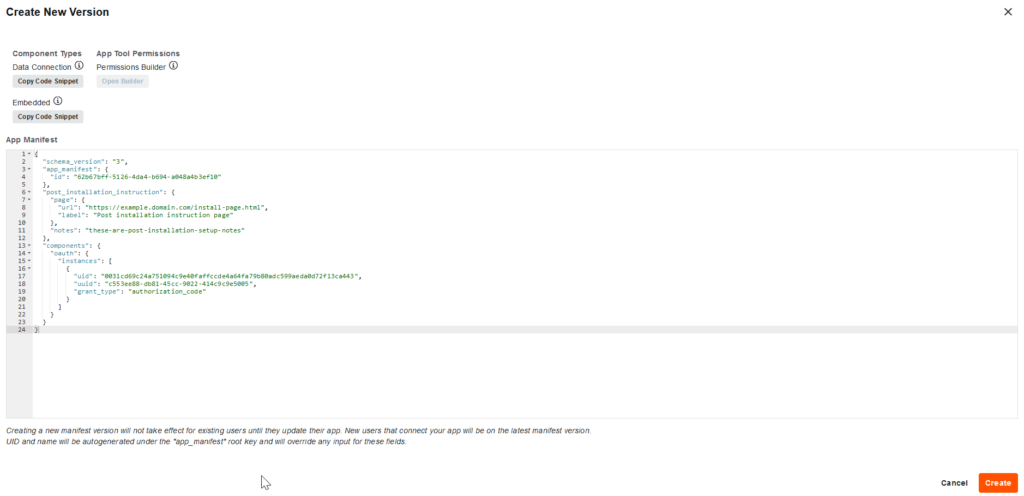
Click Create New Version which will allow you to add in your App Manifest in JSON format.
Manifests
The manifest can restrict what parts of Procore your application can reach. We’re going to use the manifest below which has full permission.
For production, following best practices, I highly recommend that you look into how the Procore manifests work and lock down the application to only what it needs. We will be using a really basic, unrestricted manifest for our tutorial.
Where to insert Manifest data
Copy and paste the JSON manifest data in, then click Create.
Manifest Json Data
The data below is used with the above step.
{
"schema_version": "3",
"app_manifest": {
"id": "62b67bff-5126-4da4-b694-a048a4b3ef10"
},
"post_installation_instruction": {
"page": {
"url": "https://example.domain.com/install-page.html",
"label": "Post installation instruction page"
},
"notes": "these-are-post-installation-setup-notes"
},
"components": {
"oauth": {
"instances": [
{
"uid": "0031cd69c24a751094c9e40faffccde4a64fa79b80adc599aeda0d72f13ca443",
"uuid": "c553ee88-db81-45cc-9022-414c9c9e5005",
"grant_type": "authorization_code"
}
]
}
}
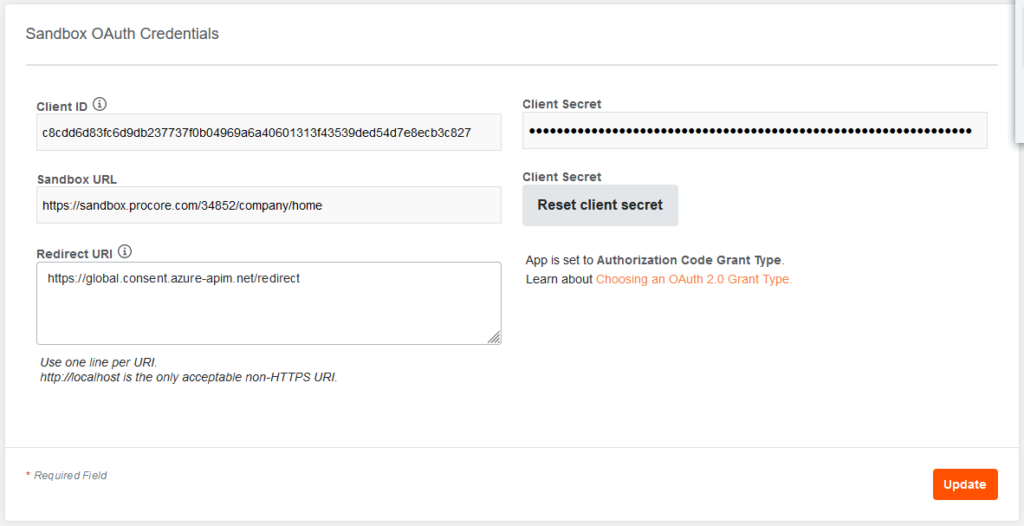
}Sandbox OAuth Credentials
This section is important, as it contains all the information needed for Microsoft Power Automate to communicate with Procore. Keep this information handy as we will refer back to it later.
Some helpful notes:
You can copy the Sandbox URL and paste it into your browser URL address bar to navigate to your new Sandbox. Login with your developer username & password credentials which you set up earlier.
Setting the redirect URI tells Procore where to return to after a successful login. If you were testing the Procore API with Postman, you would set the Redirect URL to http://localhost.
With an incorrect redirect URL set, after your app attempts to authenticate with Procore it will fail to return back to the application and error.
Procore Company ID & Project ID
We know what our Company ID is as it’s written in the Sandbox URL as pictured above.
To obtain your Project ID, log in with a browser using the link specified in the Sandbox URL field, then hover your mouse over the Sandbox Test Project hyperlink to reveal the Project ID which will be displayed down the bottom.
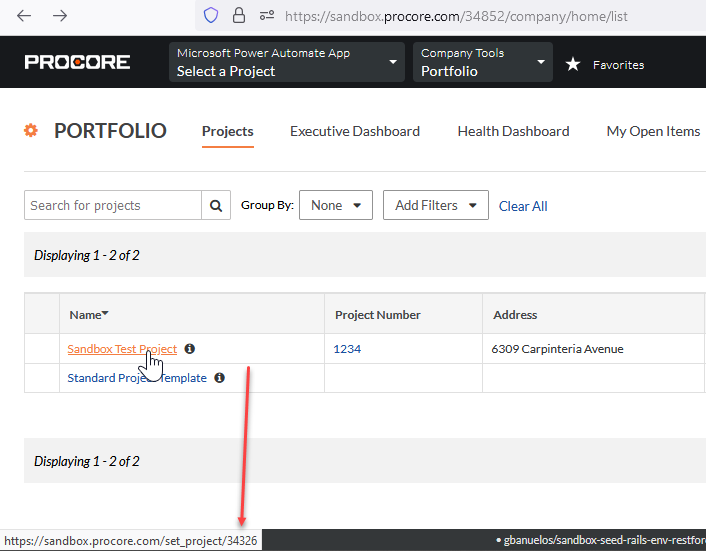
So for my Sandbox, and remember yours will be different, the information is as follows:
Company ID: 34852
Project ID: 34326
Now your app is set up and you have all the required information. You can move onto Power Automate.
Microsoft Power Automate
We will assume that you already have a Flow you are working with, so I will go straight to making the custom connector and show you how to use it.
Custom Connector
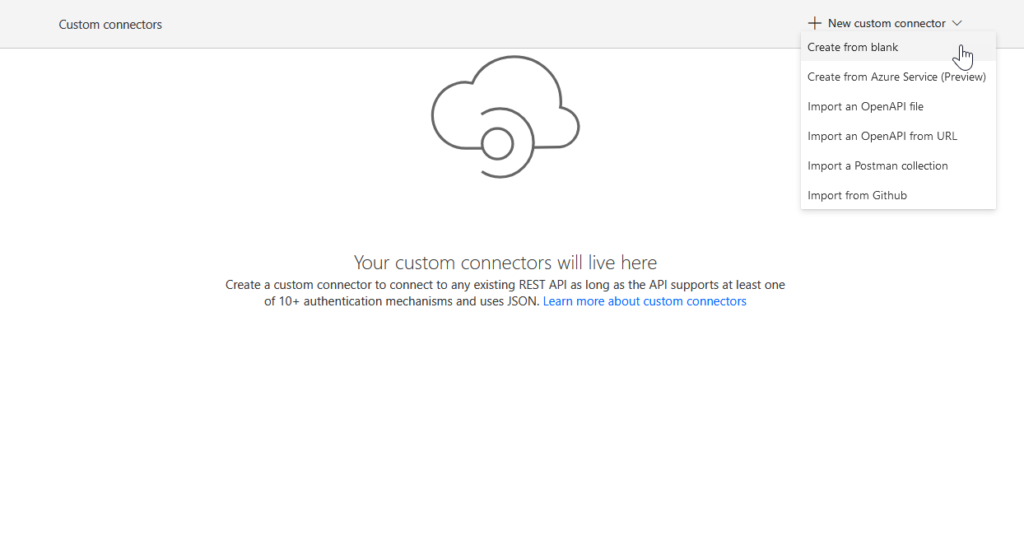
Navigate to Microsoft Power Automate, Click the Data drop down & click Custom connectors
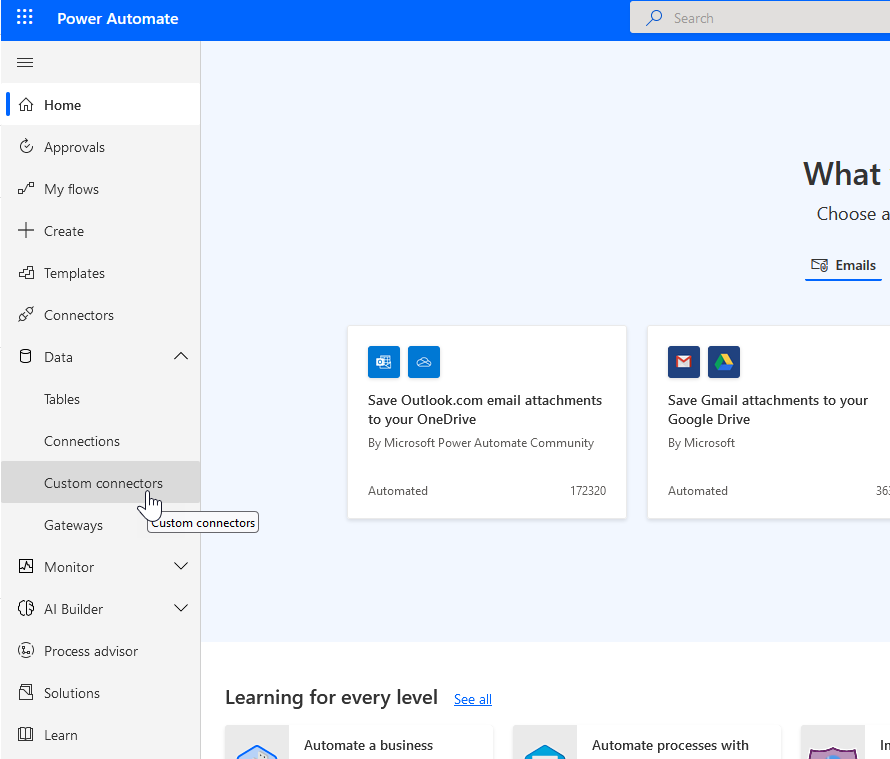
Click + New custom connector & create from Blank
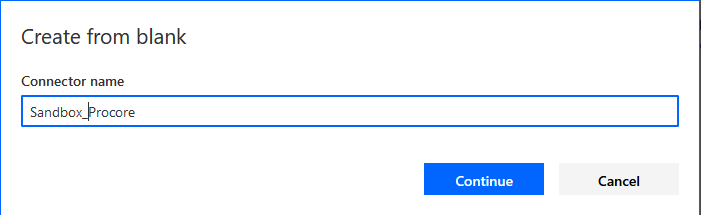
Select a descriptive name for the connector. I like to separate my Sandbox connectors from my Production connectors. Others may do it differently.
Let’s give it the name Sandbox_Procore. If it were production, we would call it Prod_Procore. Again, personal preference.
Configure the connector
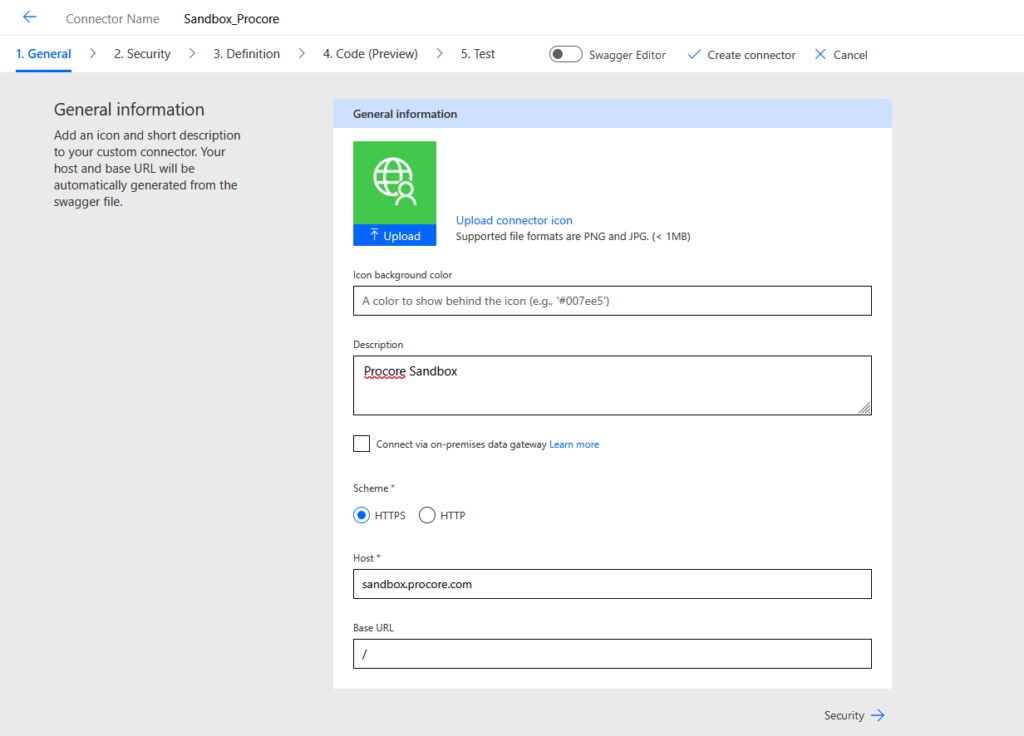
General
For host, enter the Sandbox URL sandbox.procore.com
Optionally write in a description.
Leave everything else as defaults.
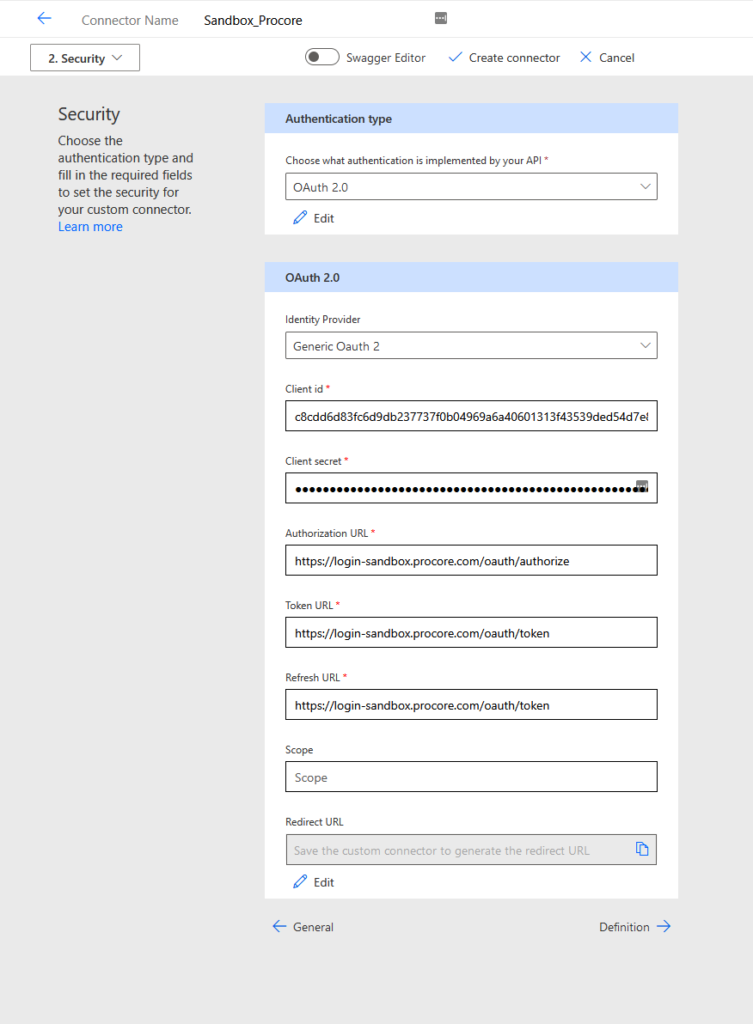
Security
Under the Authentication Type drop-down, select OAuth 2.0
Identity provider: Generic OAuth 2
Client ID: Refer to the generated ID which you created in this step
Client Secret: Refer to the generated Secret which you generated in this step
Authorization URL: https://login-sandbox.procore.com/oauth/authorize
Refresh URL: https://login-sandbox.procore.com/oauth/token
Scope: Leave as default
Redirect URL: Leave as default. It will be generated when you move to the next step.
Click Definition to proceed to the next step.
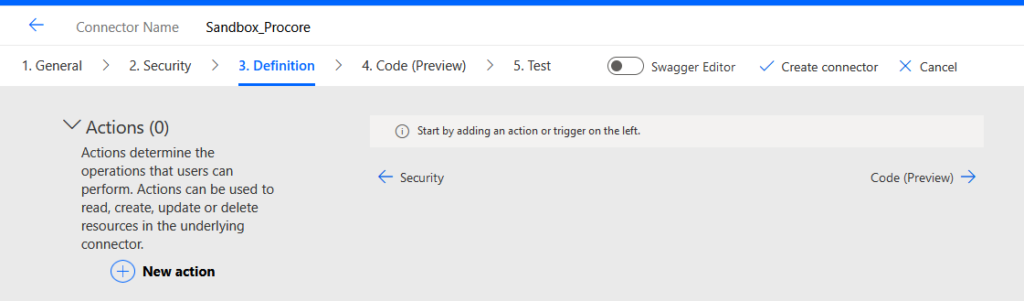
Definition
The definition section is where are sending and receiving back the data to & from the Procore API.
Start by creating an action
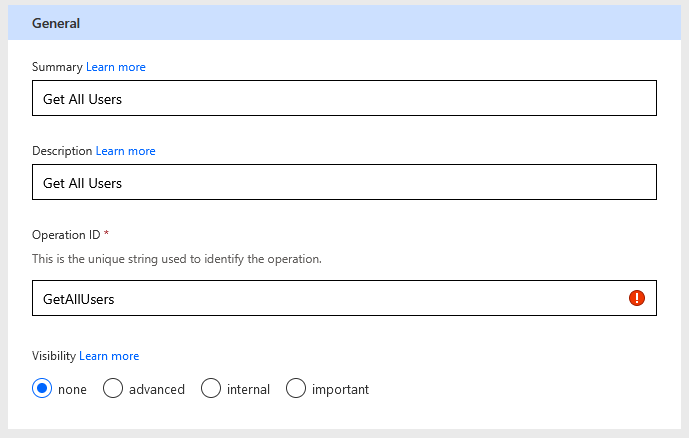
Summary
Set the summary, description and Operation ID. It’s not overly important what you name these, but be descriptive.
General
For this action, we’re going to Get all users in the Procore directory under your specific ‘project’.
Note: You can search a Company directory or a Project directory. Projects belong to Companies.
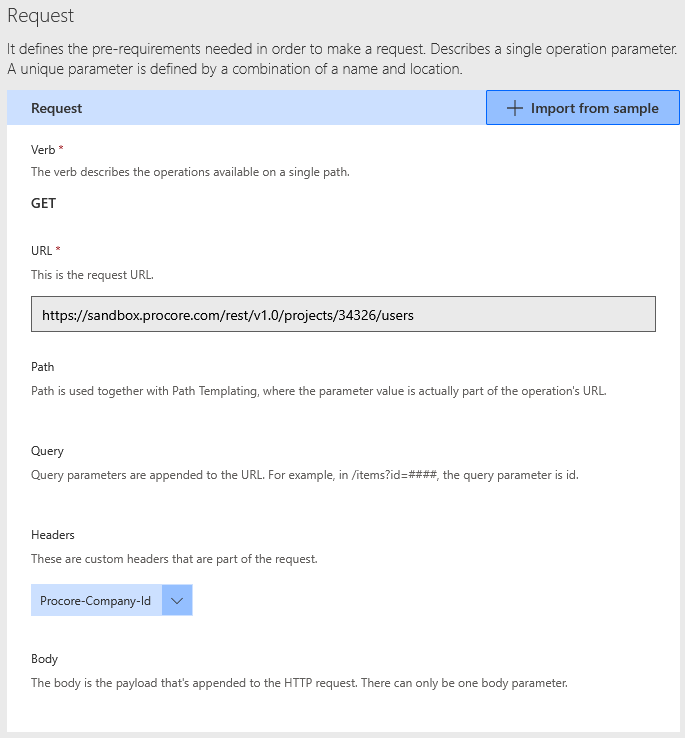
Request
We will specify what the the request looks like.
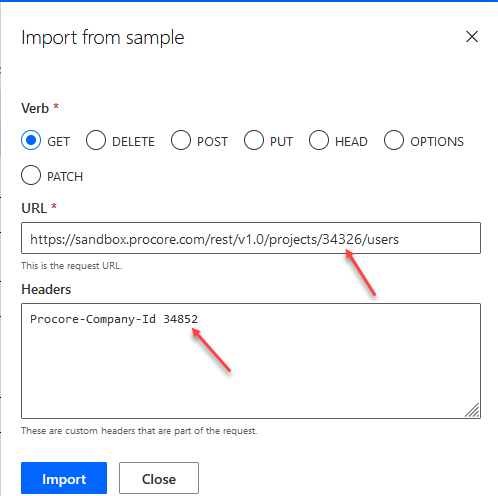
Click + Import from sample and enter the below information.

Note, your project ID number will be different from what I have. Replace the bolded numbers below with what was generated above found here.
Request type: GET
URL: https://api.procore.com/rest/v1.0/projects/34326/users
Headers: Procore-Company-Id 34852
Click Import to import in the data, which ‘teaches’ the connector how to build it’s request.
The result
Response
Now to set the response to the the request. We are telling the custom connector what the JSON return data should look like.
I will give you a sample JSON return data below which you can use.
Click + Add default response
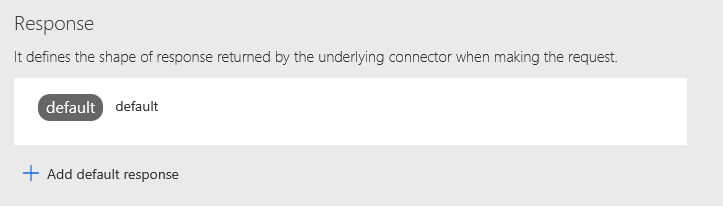
Populate the below Body section only. No Headers are required for the response.
Click Import when you are done.
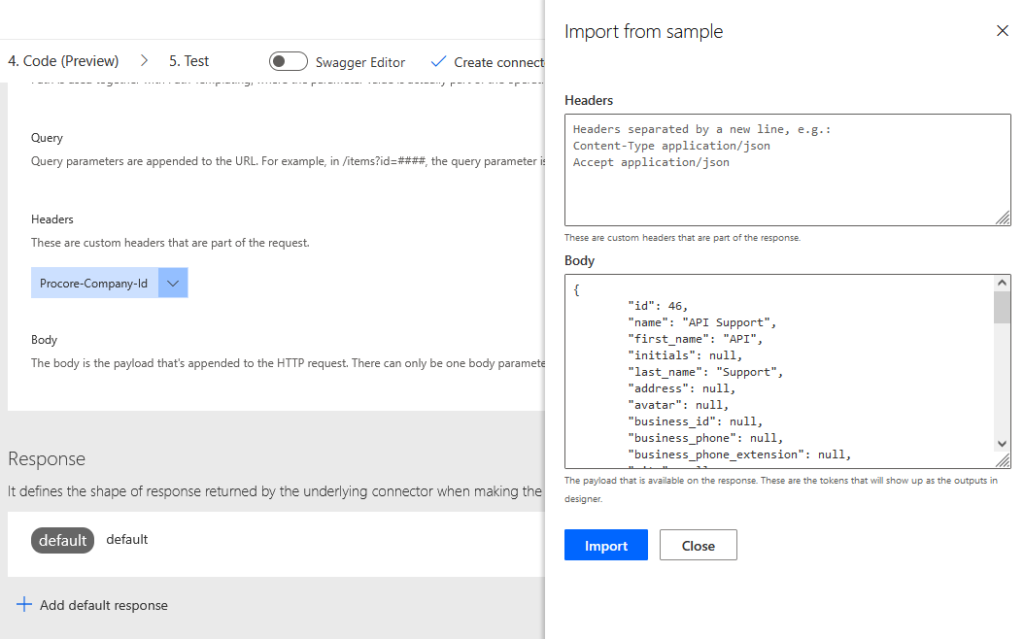
JSON Get User Response
{
    "id": 46,
    "name": "API Support",
    "first_name": "API",
    "initials": null,
    "last_name": "Support",
    "address": null,
    "avatar": null,
    "business_id": null,
    "business_phone": null,
    "business_phone_extension": null,
    "city": null,
    "country_code": null,
    "created_at": "2020-12-30T00:22:01Z",
    "email_address": "sandbox+demo@procore.com",
    "email_signature": "Sent From Procore.",
    "employee_id": null,
    "erp_integrated_accountant": false,
    "fax_number": null,
    "is_active": true,
    "is_employee": false,
    "job_title": null,
    "last_login_at": null,
    "mobile_phone": null,
    "notes": null,
    "origin_data": null,
    "origin_id": null,
    "state_code": null,
    "updated_at": "2020-12-30T00:22:08Z",
    "welcome_email_sent_at": null,
    "zip": null,
    "permission_template": {
      "id": 175628,
      "name": "Project Manager - Internal",
      "project_specific": false,
      "type": "global"
    },
    "work_classification_id": null,
    "vendor": {
      "id": 290132,
      "name": "Procore (Test Companies)"
    },
    "company_permission_template": null
}
Our data is validated. You can now create the connector using the Create connector button at the top of the page.

Test
You can now test the connector.
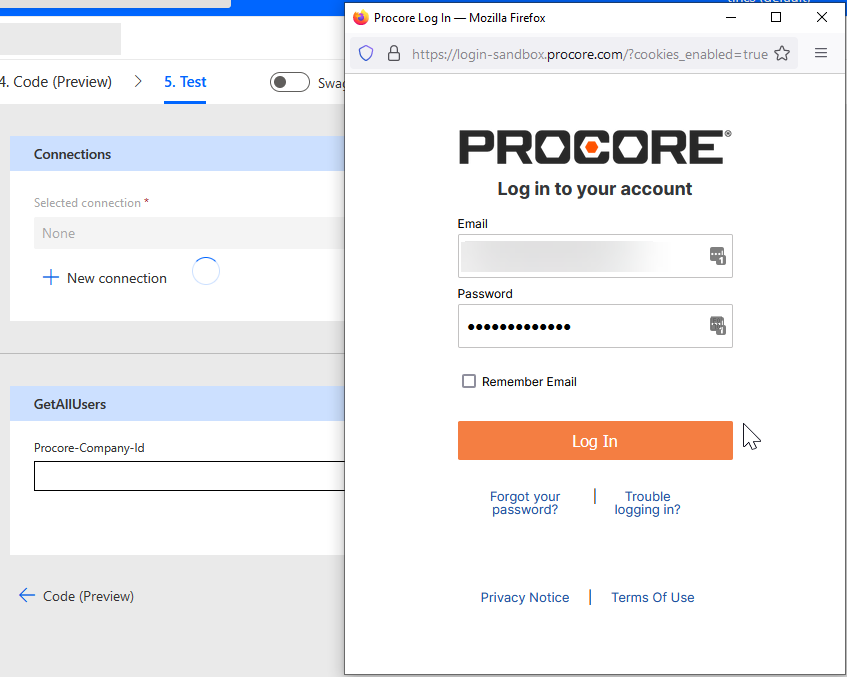
Click the Test button which will take you to the test page, then click on New connection
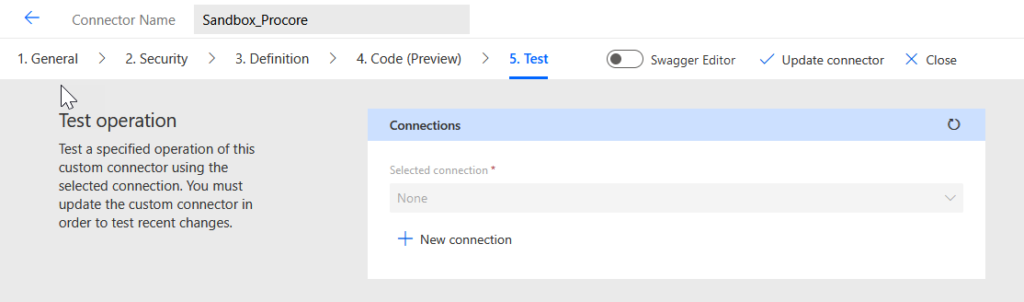
Once you click New Connection, you will get a pop up where you enter your Procore Developer username & password to obtain an authentication token.
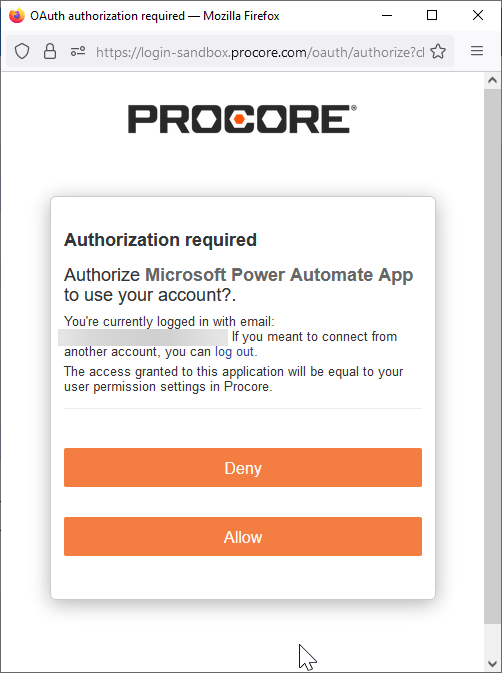
Authorize the app to access Procore.
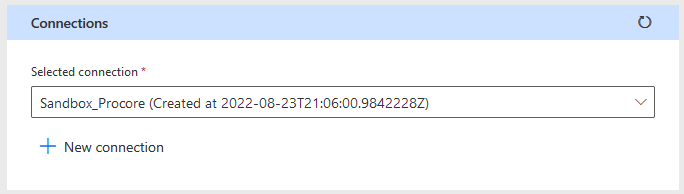
And a successful connection will look like this
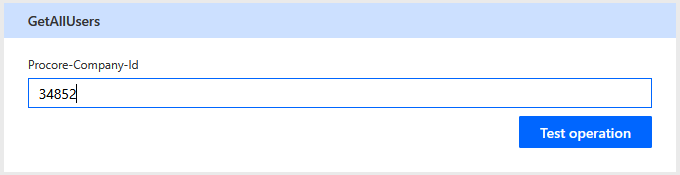
Now to test the operation. Enter your company ID and click Test operation
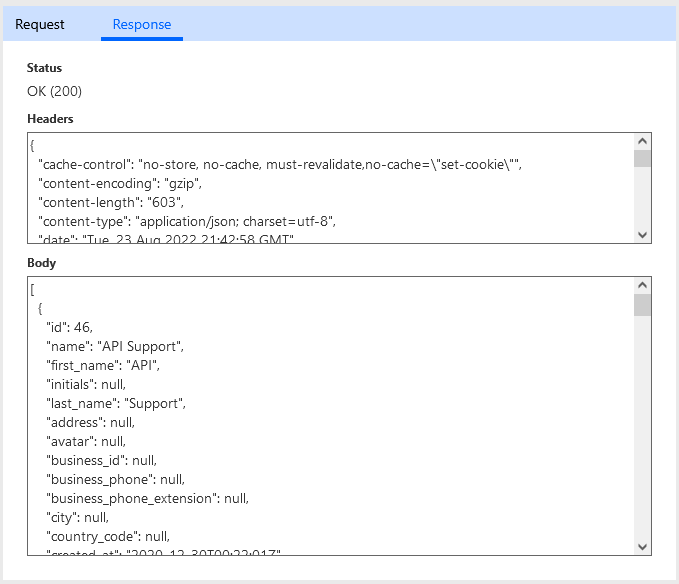
Check the response back to ensure everything is OK.
It looks good, we’ve got a Status OK (200) as well as the Body JSON data looks valid and correct.
Power Automate Flow
Now for the easiest part, we will see how to interact with this connector via Microsoft Power Automate.
This guide will assume that you have working knowledge of Microsoft Power Automate. Feel free to leave a comment otherwise.
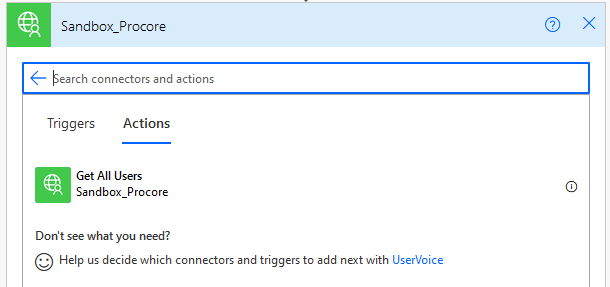
Within Microsoft Flow, begin a new Action, navigate to Custom and select your new connector Sandbox_Procore

The one action that we created in this step will appear. Now you can click it to begin using it.
We only have one field we can enter data into, which is the Company ID

Save it and you are good to go. In the next step you will be able to use the data pulled from Procore for following sections of the flow.
We will cover how to add a user to Procore via Microsoft Power Automate in the next tutorial.